High-performance micrometer for the highest demands
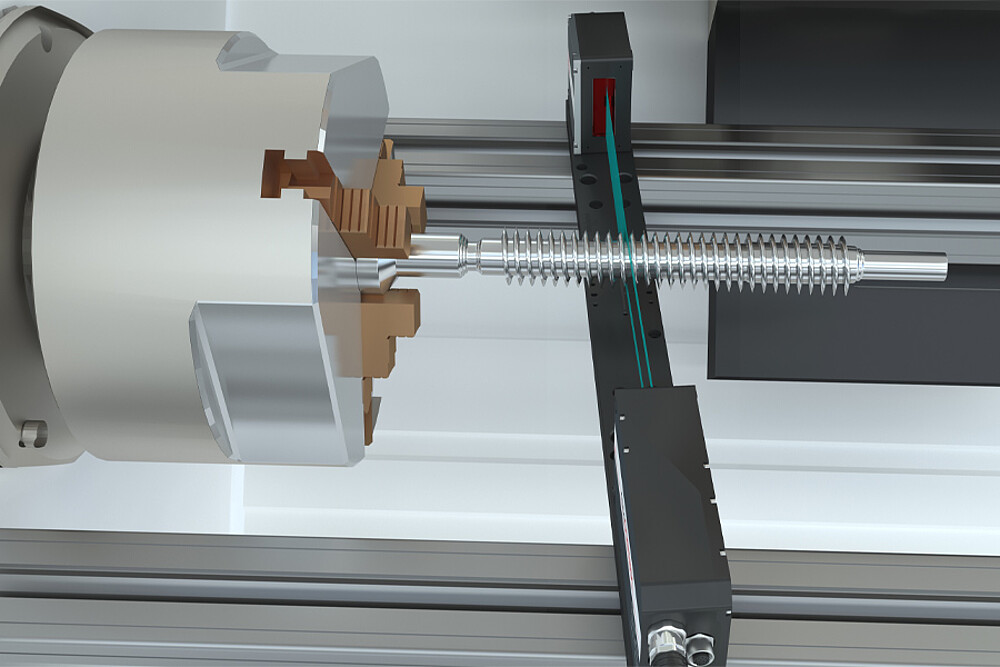
The optoCONTROL 2700 is a compact LED micrometer for the precise measurement of diameter, gap, edge and segment. The micrometer is characterized by an extremely high accuracy and measuring rate. As the controller is integrated in the receiver, the cabling and mounting work is reduced to a minimum.
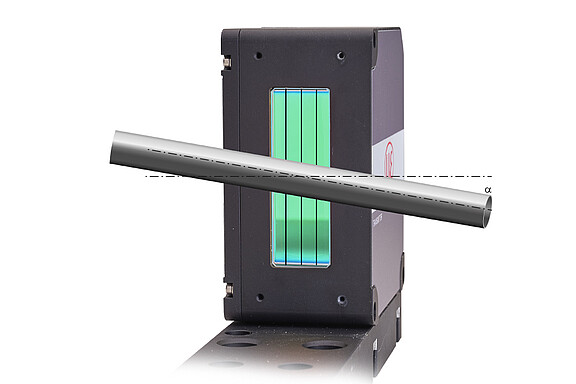
Two models with measuring ranges of 10 and 40 mm open up numerous fields of application in automation and quality assurance. Thanks to the active inclination correction, objects tilted by up to 63° are also detected extremely precisely. The configuration is performed conveniently via the web interface and enables the parameter set up of the video signal, filter and various measurement modes. In set-up mode, a shadow image can be used for simple alignment of the measuring object. The excellent price-performance ratio rounds off the performance package.

Characteristics
- Measuring range: 10 | 40 mm
- Submicron resolution of 10 nm
- Measures the smallest objects from 0.05 mm
- Linearity ≤ 0.5 µm
- Exposure time: 8.5 µs
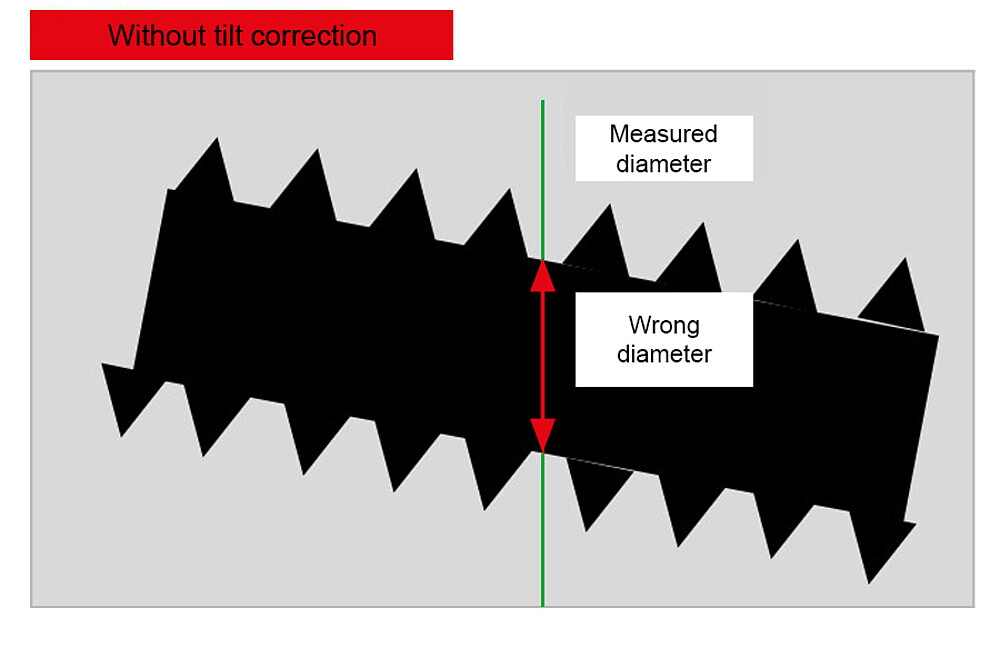
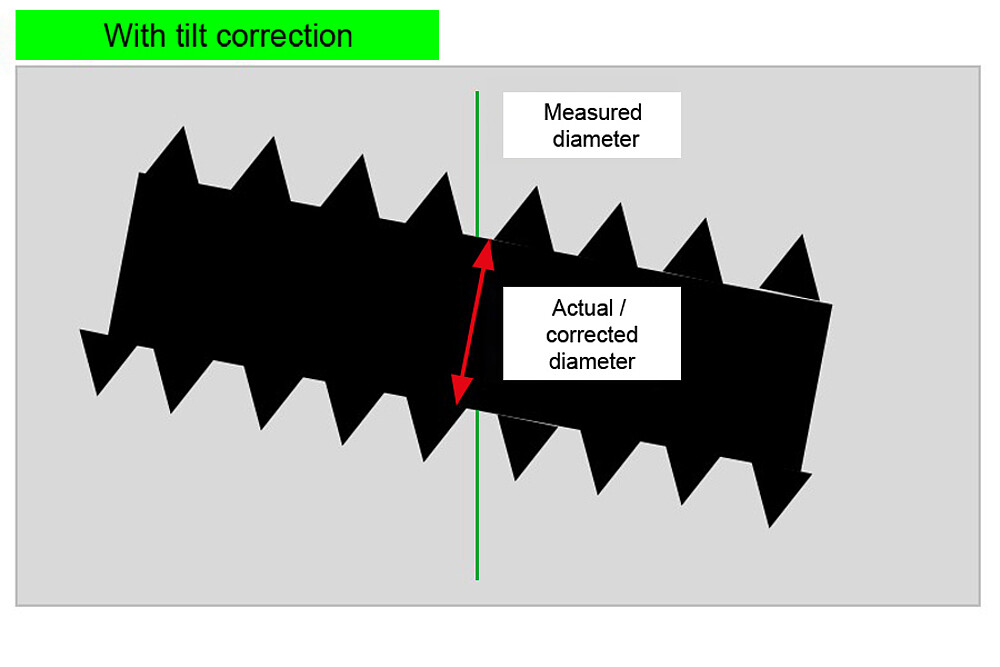
- Active inclination correction of object in real time
- Angle measurement of object in relation to the XY plane in the light beam
- Six presets for common measurement tasks
- Configurable via web interface
Active tilt correction of the measuring object
The optoCONTROL 2700 detects the exact alignment and angle of the measuring object. Thanks to the integrated evaluation, the measured value is automatically adjusted to the inclination of the measuring object. As a result, the exact measurement value is output. The inclination correction is available for the diameter measuring programs. The detected image can be output via the web interface and checked visually.
Simple operation via web interface and presets for common applications
The entire configuration of the optoCONTROL 2700 is performed without additional software via an easy-to-use web interface. The web interface is accessed via an Ethernet connection and enables quick and easy setting of e.g. averaging, measuring rate or presets and offers extensive parameterization options for every measurement task. With just one click, the stored presets enable quick and easy parameterization of the sensor specifically for the measurement task.
Black and white image for easy alignment with the measuring object
The exact positioning of the measuring object in the light beam is quick and easy thanks to the set-up mode. The measuring object can be easily set up using the integrated black and white image. This saves the user time and effort when setting up and adjusting the exact position. The mid of the measuring range is shown in both axes by a red line.
Modern interfaces for integration into machines and systems


